花苞頭欣賞
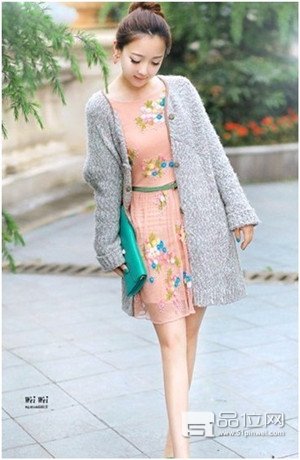

第一款:小清新花苞頭
這款日系花苞頭最流行, 雖然是蓬鬆感十足的髮型設計, 但卻展現女性的時尚感以及婉約味道, 無劉海打造露出飽滿額頭, 展現清新感覺。 頂著這樣的一個花苞頭出去逛街, 想必一定鞥能夠魅力盡顯。

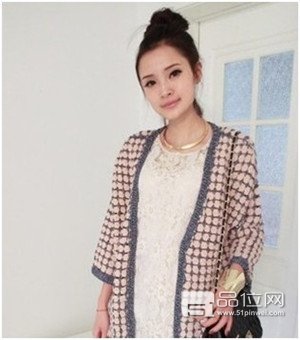
第二款:日式流行時尚花苞頭
日式流行的一款花苞頭, 高高的紮起花苞來, 絕對大愛, 喜歡花苞頭的MM們不妨試試這款絕對會有意想不到效果哦。 很簡單、隨意的髮型設計, 展現女性可愛、伶俐一面。

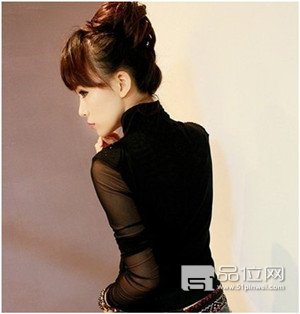
第三款:甜美側花苞頭
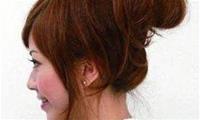
宛如公主般造型側紮花苞頭, 側面看太有感覺了, 絕對讓你百分之百回頭率。 同時也很精緻, 整個線條流暢, 如果搭配亞麻色的頭髮就超級棒了。 這個秋季MM們趕緊為自己選一款吧。
經典日系花苞頭的紮法
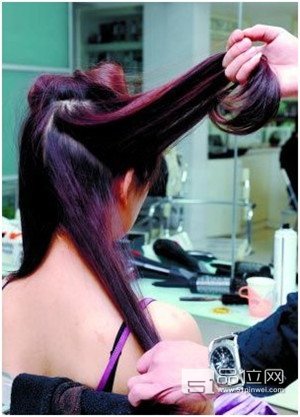
第一步, 把頭髮分成幾個區域後燙卷, 先從頭頂往下燙, 分區燙更蓬鬆、更柔順。
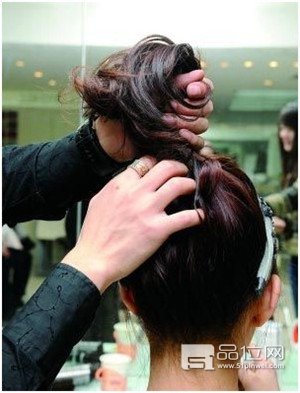
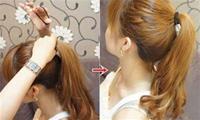
第二步,紮個簡單的馬尾,馬尾的高度、鬆緊都至關重要。儘量別把頭髮梳理的太光了,還是要有一些淩亂感的,最好是蓬鬆些、有空氣感。
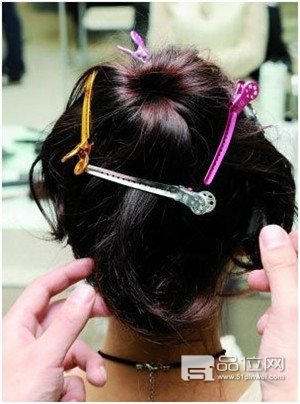
第三步,繼續吧頭髮分區,分成四個區域,往不同的地方拉,用髮夾固定。
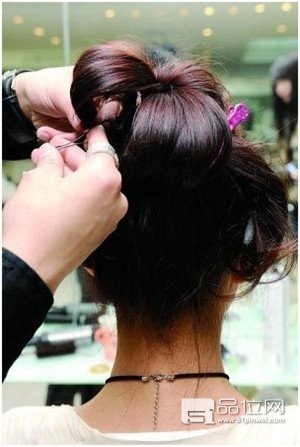
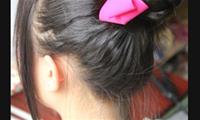
第四步,把每一區的頭髮稍微抓順,然後把馬尾往根部卷,用夾子固定,注意四個區域頭髮的銜接。
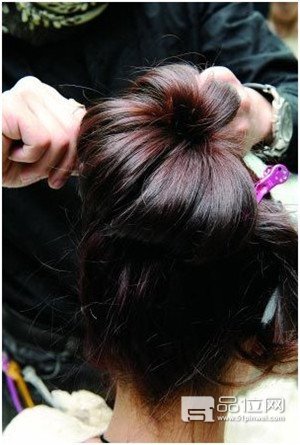
第五步,最後調整下固定就可以了,噴點髮膠效果更好。
日系經典花苞頭就這麼完成啦!第二步,紮個簡單的馬尾,馬尾的高度、鬆緊都至關重要。儘量別把頭髮梳理的太光了,還是要有一些淩亂感的,最好是蓬鬆些、有空氣感。
第三步,繼續吧頭髮分區,分成四個區域,往不同的地方拉,用髮夾固定。
第四步,把每一區的頭髮稍微抓順,然後把馬尾往根部卷,用夾子固定,注意四個區域頭髮的銜接。
第五步,最後調整下固定就可以了,噴點髮膠效果更好。
日系經典花苞頭就這麼完成啦!